Building a Worm Rick: The First Four Weeks
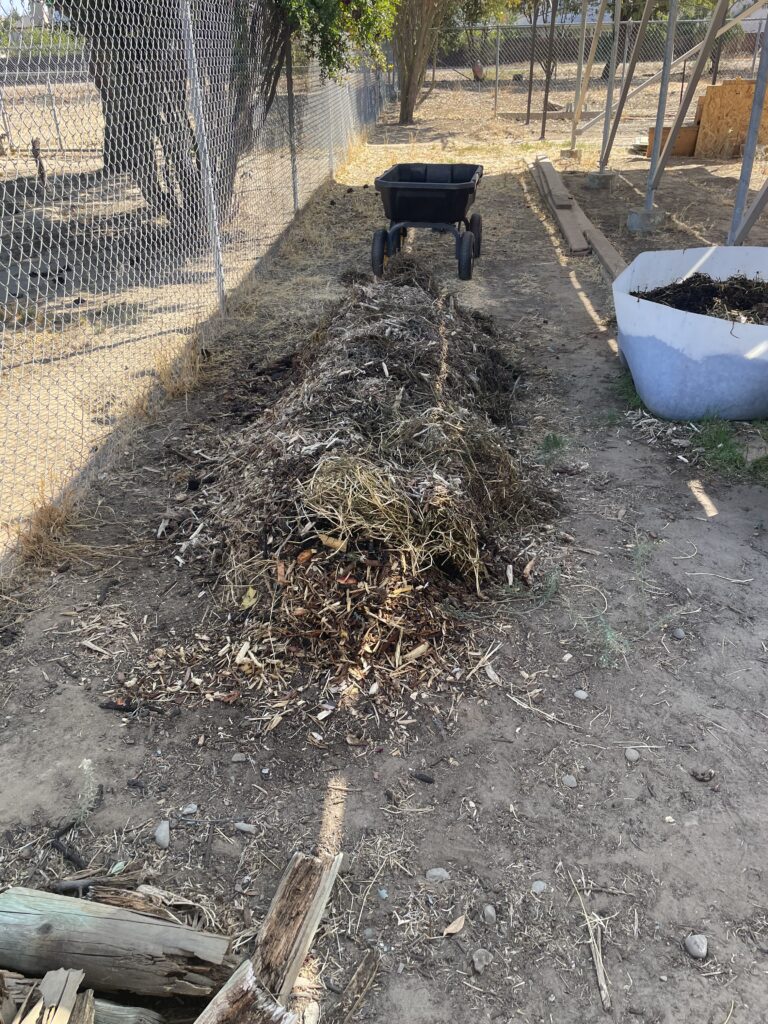
On September 13, I began building a worm rick with a row of mulch. Four weeks later, the material is consolidating, the worm population is growing, and the first castings are beginning to develop.
Things are moving faster than I expected. But this is still the beginning. Right now, the goal is to establish the system and build the worm population. Producing quality finished castings will come in a later phase.
Starting with Mulch
The rick began with mulch as its base. I then introduced worms and added compost and other material along the working side. A worm rick is a long pile of organic material managed as a worm bed.
Since then, I have been adding about one-eighth of a cubic yard of material each week. While fresh material goes in, the original material is settling and becoming more compact.
That makes the photographs interesting to compare. The rick’s changing shape reflects both the additions and the consolidation of older material. Size alone does not tell the whole story.
Building the Worm Population
During these first four weeks, I have also been working with the breeding and grow-out beds to build the worm population.
More worms are becoming established in the rick, and I am beginning to see castings. Those are encouraging observations, but they do not mean the material is ready to harvest.
This phase is about giving the worms time to reproduce, grow, and work through the material. I may need another reversal before the rick produces the quality of castings I am looking for.
Food and Water Guide the Movement
One feature of this system is horizontal worm migration.
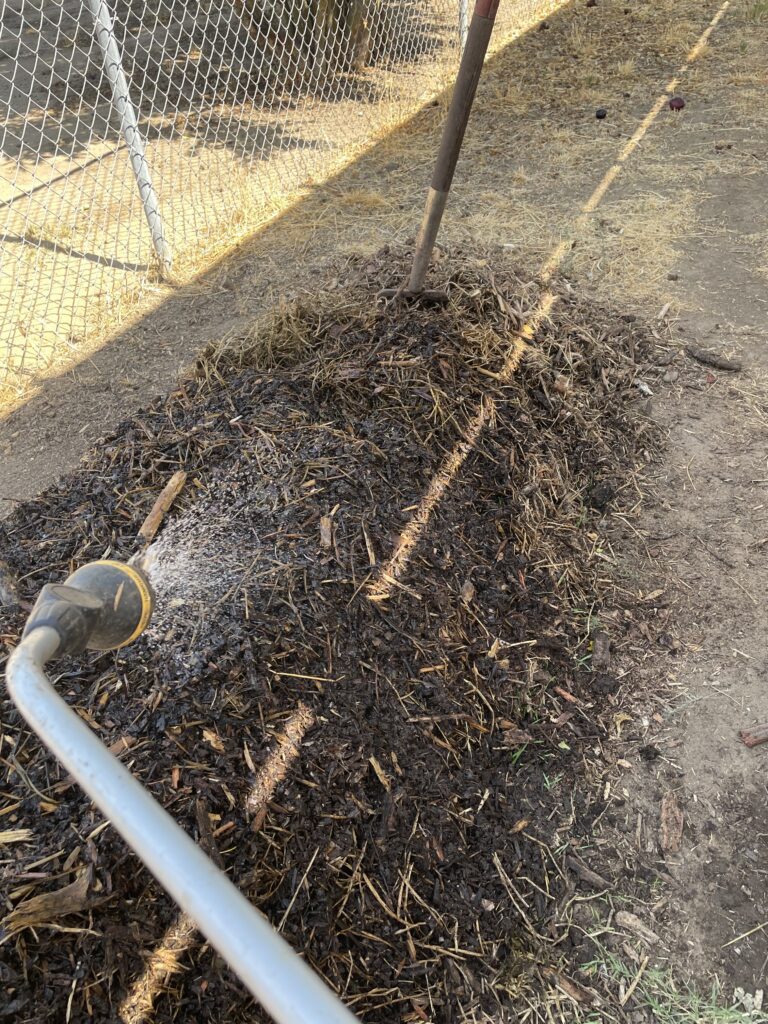
I place fresh material in a sleeve along the active side of the rick. Food and moisture draw the worms toward that area. Rather than feeding the entire row evenly, I am creating a working zone along one side.
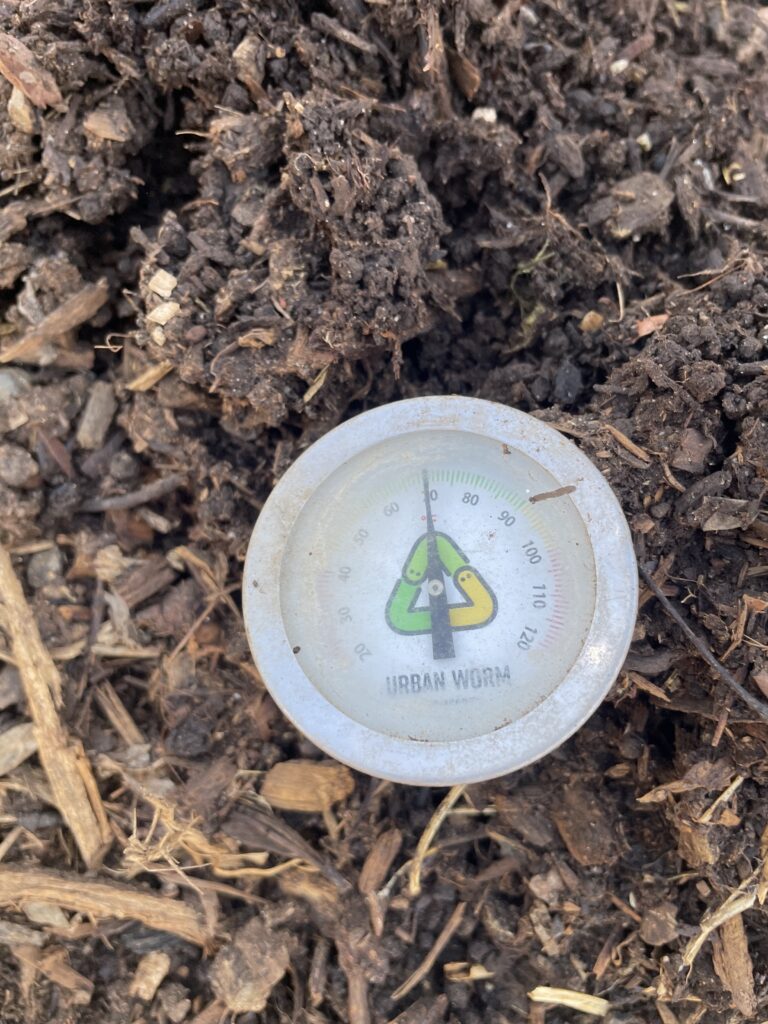
I aim to water for about six minutes each day and check the temperature where the worms are gathering. That area has been around 80°F.
That reading describes the worm zone. It does not tell me the temperature throughout the whole rick, so checking different locations will help me understand the system better.
As fall and winter arrive, I plan to adjust the additions, including more green material, while watching how the temperature, moisture, and worms respond.
Reversing the Working Side
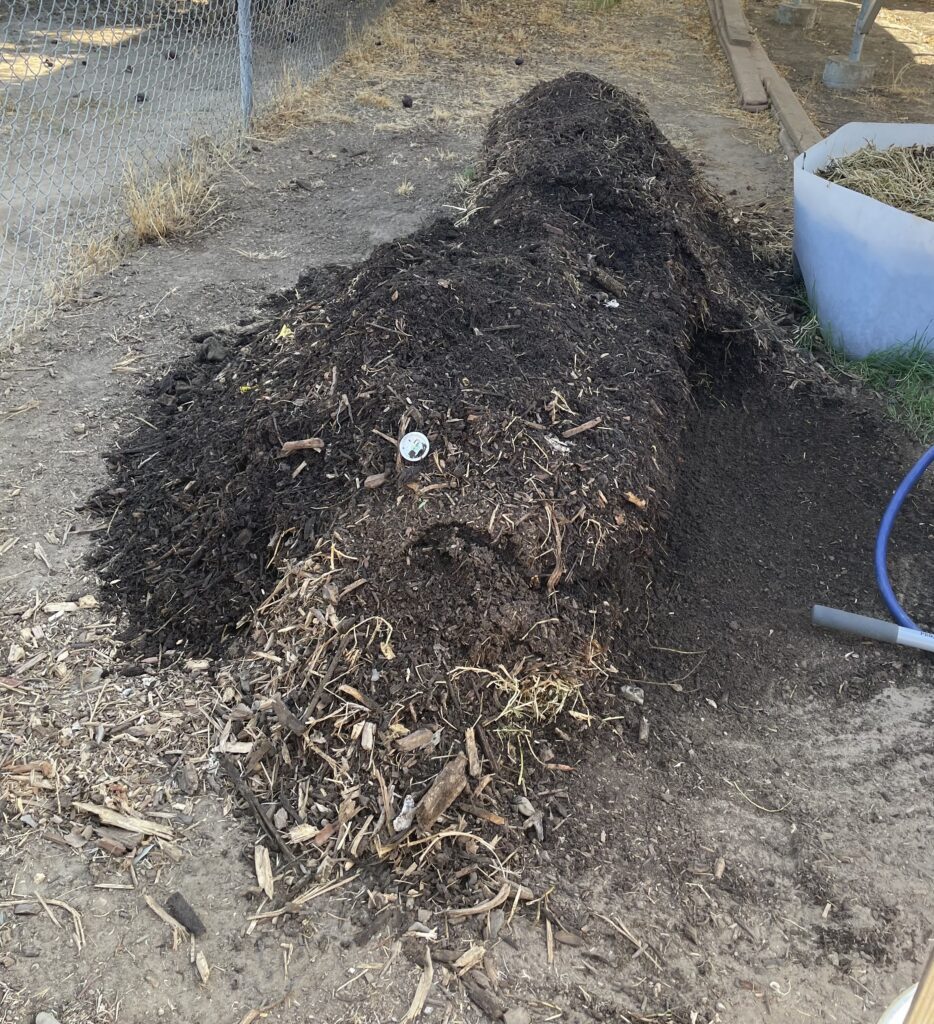
The next step was reversing the working side of the rick.
First, I raked material across the top in the new direction, making room for the next step. Then I cut into the active side of the wedge, where most of the worms were concentrated, and moved that material to the top.
I switched the feeding side and added a fresh sleeve of material. I expect the worms to move toward the newly supplied food and moisture. Watching that movement will help me understand how well the system works.
The two videos below show the raking and cutting steps.
The Beginning of a Longer Story
The first four weeks have given me plenty to watch: consolidating mulch, a growing worm population, and castings beginning to appear.
The next phase will show how the material develops through another cycle. I will be watching its texture, the worms’ distribution, and the progress toward finished castings.
For now, this is a record of a system becoming established. We will keep sharing what happens as the worms—and the rick—develop.
Have you tried feeding along one side of a worm bed to encourage movement? I would enjoy hearing what you have observed.